> ## Documentation Index
> Fetch the complete documentation index at: https://docs.futurex.com/llms.txt
> Use this file to discover all available pages before exploring further.
# Validate and test
> Instructions for validating and testing the OpenVPN deployment using the OpenVPN Connect client.
## Create and configure a test client
If you plan to integrate **OpenVPN Connect** with the CryptoHub, you should now switch over to the [Download a connection profile in the OpenVPN Access Server Client Web UI](https://docs.futurex.com/cryptohub-integration-guides/download-a-connection-profile-in-the-openvpn-access-server-client-web-ui) section in the OpenVPN Connect integration guide. You have finished everything that is needed in this **OpenVPN Access Server** integration guide.
To test our example, we generate a test client, **etest**.
Sign in to the Admin Web UI.
Go to **User Management** > **User Permissions**.
Create the new user, **etest**, and select **More Settings** to enter a password.
(Optional, for environments using auto-login profiles). Check **Allow Auto-login** for the user.
Select **Save Settings** and **Update Running Server**.
Finally, generate a server-locked profile. The profile will be stored in `etest.ovpn`:
```shell expandable lines wrap title="Shell" theme={null}
/usr/local/openvpn_as/scripts/sacli GetGeneric >etest.ovpn
```
For generating an auto-login profile:
```shell expandable lines wrap title="Shell" theme={null}
/usr/local/openvpn_as/scripts/sacli --user etest GetAutologin >etest.ovpn
```
Copy these two files to the client machine:
* Client P12 file (`etest.p12`)
* Client profile (`etest.ovpn`)
## Install the profile and certificate in OpenVPN Connect v3
Launch OpenVPN Connect v3.
Import the connection profile, `etest.ovpn`.
Select **Menu > Certificate & Tokens**.
Under **PKCS#12**, select the **Add** icon.
Select your client P12 file (`etest.p12`)
Enter the password for this file that you previously configured and select **OK**.
Go back to the **Home**.
Select **Menu > My Profiles**.
Select the **Edit** icon for the profile.
Under **Certificate and Key**, select **Assign**.
Select the digital certificate file and select **Confirm**.
Save the changes.
Select **Connect**.
## Simplified ePKI client configuration (Access Server 2.14.2 and later)
With the release of Access Server 2.14.2, we've made configuring client connection profiles for ePKI easier. Previously, creating these profiles required using the command line, as noted in the tutorial. However, in version 2.14.2 and later, you can now create and manage ePKI client connection profiles directly from Access Server's Client Web UI.
There are two types of ePKI profiles available:
1. **Generic ePKI profile:**
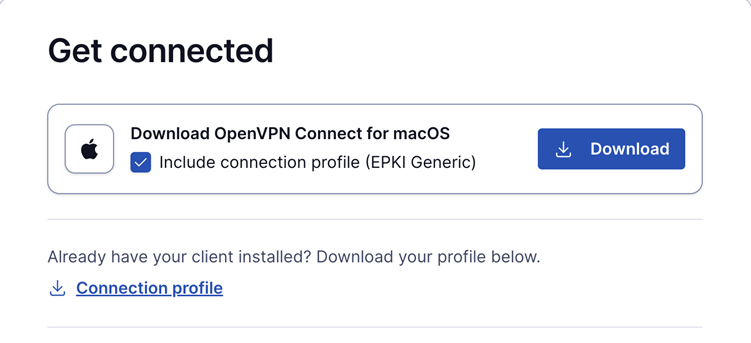
* This profile requires the user to authenticate with a password when connecting.
* Ideal for environments where a password-based security layer is needed in addition to certificate-based authentication.
2. **Auto-login ePKI profile:**
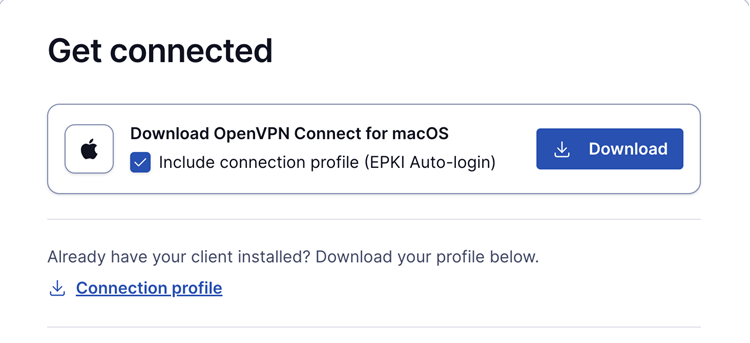
* This profile automatically uses the certificate for authentication without requiring a password.
* Suitable for unattended devices or systems where automatic, certificate-based login is needed.
In addition, the **Import Profile from URL** functionality in **OpenVPN Connect** allows users to import these connection profiles directly, making the configuration process faster and more seamless.
This update simplifies the ePKI setup, providing more flexibility and reducing the reliance on the command line.